How to Combine JPG, PNG, and BMP Images into One PDF
A clean image-based PDF starts with page order, orientation, margins, and a final check that every image remains readable.
Prepare the images as one document
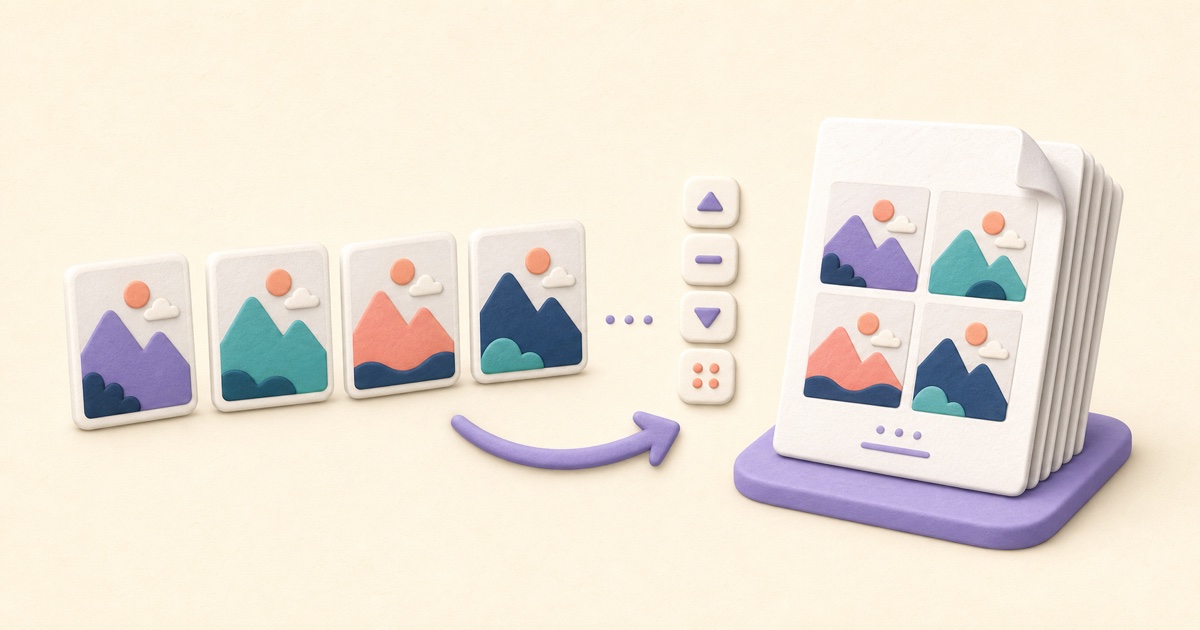
Combining images into a PDF works best when you think in pages rather than files. Each JPG, PNG, or BMP becomes one PDF page, so image order, orientation, and page settings determine how the finished document reads. A few minutes of preparation can prevent a sideways scan or missing page from reaching the final file.
The smallpdf.app Images to PDF tool accepts up to 50 JPG, JPEG, PNG, or BMP images. You can add more images, arrange them, rotate them, remove unwanted items, and choose the settings for the finished PDF before creating it.
Choose compatible source images
Use clear JPG, PNG, or BMP files and inspect them before adding them. Crop unwanted surroundings in an image editor when necessary, correct exposure if text is difficult to read, and make sure every scan shows the complete page. The PDF tool centers images and never crops them, so content already missing from a source image cannot be restored later.
HEIC and HEIF photos need to be converted first. Use the HEIC Converter to create a compatible JPG or PNG copy, then add that result with the rest of the images. Keep the original photo until you have checked the complete PDF.
Set the page order before formatting
- Add all the images that belong in the document.
- Drag cards or use the arrow controls to arrange the reading order.
- Rotate any sideways or upside-down image.
- Remove duplicates, blank photos, and accidental captures.
- Read the filenames and previews from beginning to end once more.
This is especially important for receipts, application evidence, handwritten notes, and photographed forms. A visually similar page can easily land in the wrong position. If images form sections, arrange each section internally before placing the sections in their final sequence.
Choose a page size that matches the job
A4 or Letter creates consistent document pages and is useful for printing or combining the result with other standard PDFs. Automatic orientation can adapt each page to its image, while a fixed portrait or landscape choice keeps the document uniform. Margins create breathing room around each image but reduce the area available to display it.
Fit to image creates a page based on the image’s proportions rather than a standard paper size. It can avoid excess whitespace for photos and artwork, although mixed image dimensions may produce pages with noticeably different sizes.
Balance quality and file size
Maximum quality is useful when small text, diagrams, or detailed photographs must remain clear. High quality is a sensible starting point for most documents. Compact output can reduce the finished file size when easy sharing matters more than fine detail.
Do not judge quality from a thumbnail alone. Reopen the PDF and zoom in on the smallest important text. If it looks soft or blocky, recreate the file at a higher setting or use clearer source images. Turning photographs into a PDF does not add OCR, so photographed words do not automatically become searchable text.
Verify and name the final PDF
Give the output a descriptive filename, create the PDF, and open the exact downloaded copy. Check the first and last pages, every rotation, page dimensions, margins, and the transitions between sections. Keep the sources until the recipient has accepted the document.
If you already have several PDF documents rather than image files, use Merge PDFs instead. Converting PDF pages to images and back can discard searchable text, links, forms, and other document features without improving the page order.
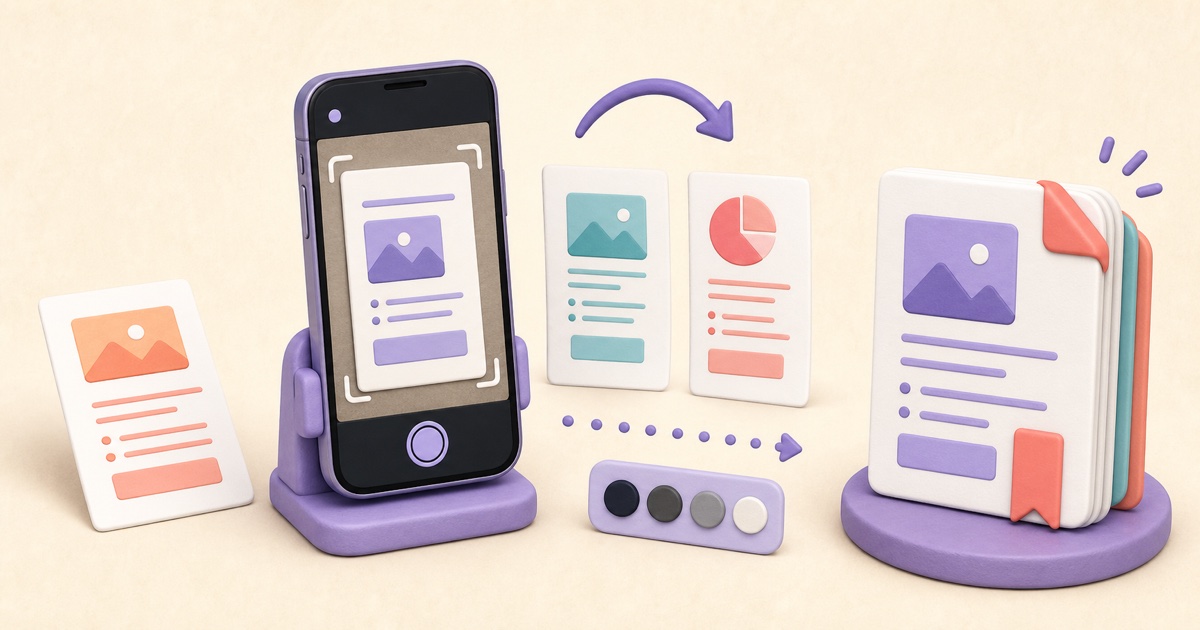
How to Scan Documents to PDF with Clear, Consistent Pages
A useful scanned PDF begins with complete, evenly lit photos. Cropping and filters can improve presentation, but they cannot restore missing detail or make text searchable.
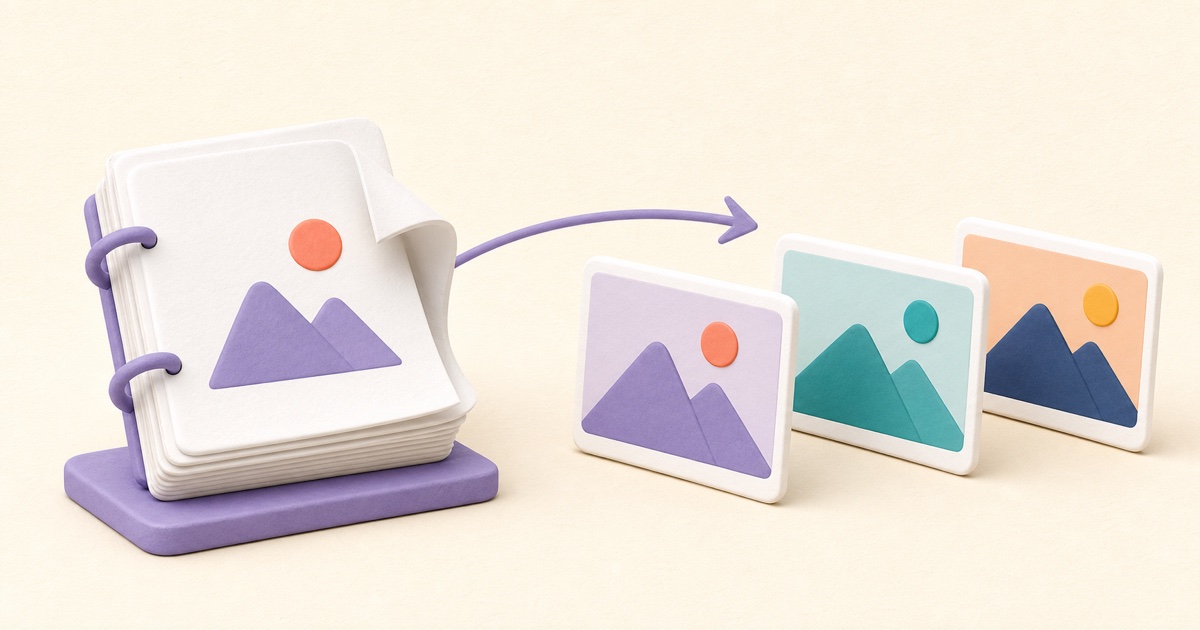
How to Convert PDF Pages to JPG Without Losing Readability
A useful JPG export depends on the destination, the source page, and the quality setting—not simply choosing the largest file.
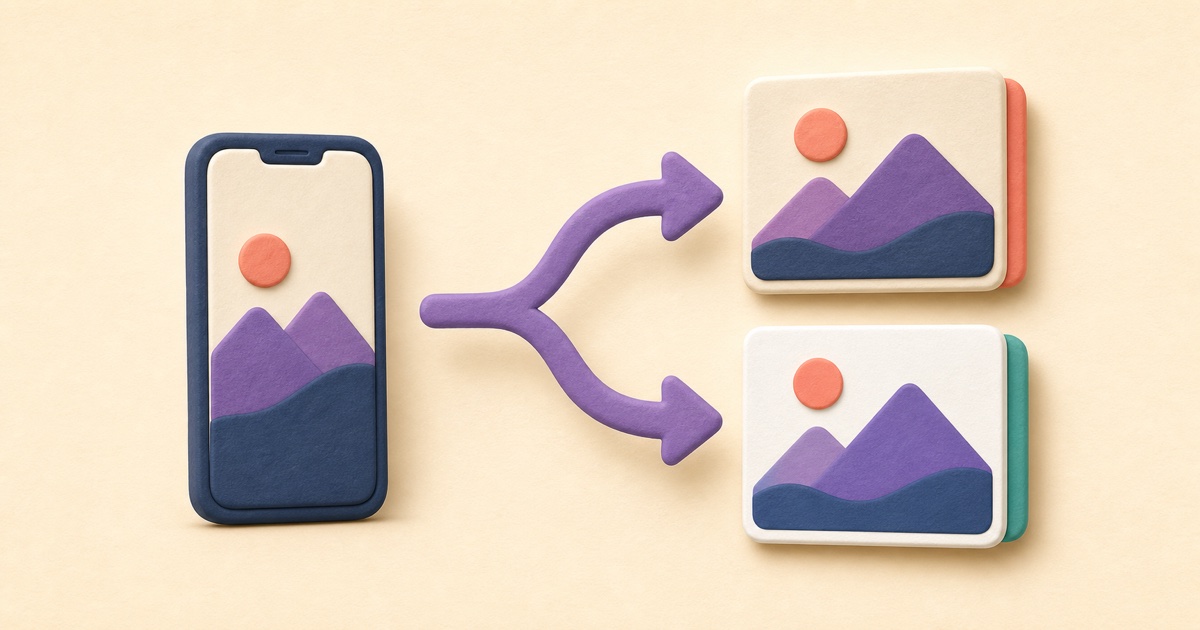
HEIC to JPG or PNG: Which Format Should You Choose?
JPG usually suits photos and broad compatibility; PNG suits lossless output. Neither conversion makes the original HEIC better.
How to Merge PDF Files in the Right Order
A reliable merge starts before you click the final button. Use this workflow to prepare, order, combine, and check a multi-file PDF.