How to Scan Documents to PDF with Clear, Consistent Pages
A useful scanned PDF begins with complete, evenly lit photos. Cropping and filters can improve presentation, but they cannot restore missing detail or make text searchable.
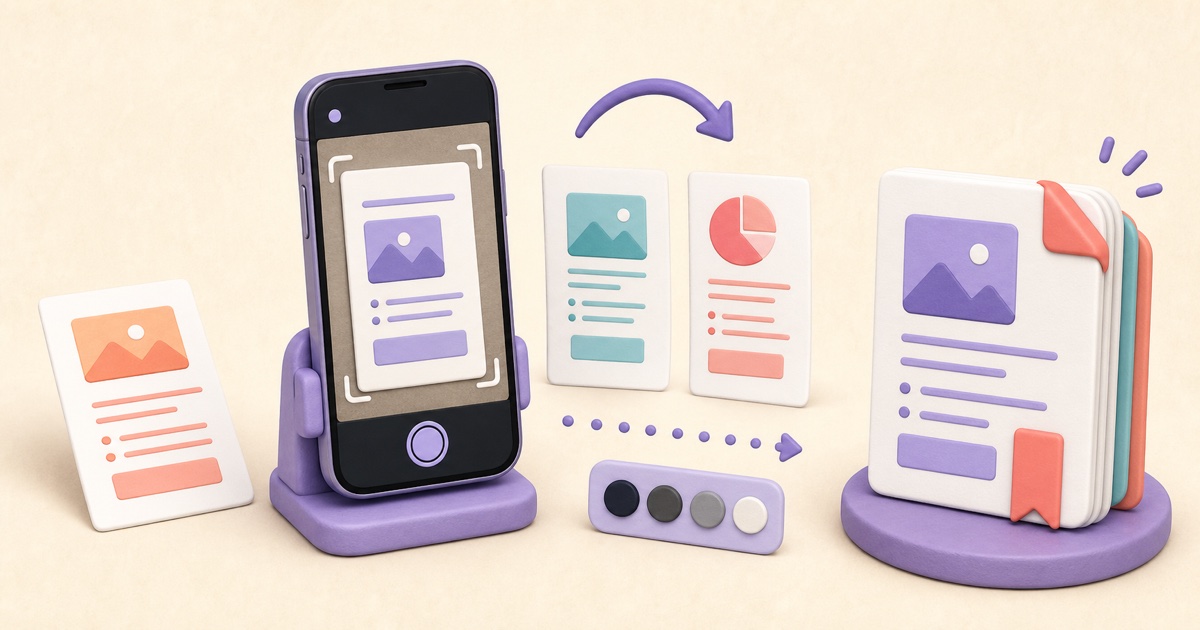
Capture complete pages before trying to improve them
A readable scanned PDF begins with the source photo. Cropping and filters can tidy a good capture, but they cannot restore a corner that was outside the frame, text blurred by movement, or detail lost in glare.
The smallpdf.app PDF Scanner accepts camera captures or existing JPG and PNG page images. You can crop, rotate, reorder, and apply original, grayscale, or black-and-white filters before creating one PDF.
Set up a simple capture area
- Place the page on a flat surface with a contrasting background.
- Use bright, even light from more than one direction when possible.
- Avoid direct flash, window glare, and shadows from the phone or your hands.
- Hold the camera parallel to the page so opposite edges remain similar in length.
- Include all four corners and a small border around the sheet.
Check the smallest important text before moving to the next page. Receipts, embossed seals, pencil notes, faint carbon copies, and glossy paper often need extra attention.
Use cropping to remove surroundings, not content
Crop each capture to the page edges while leaving a narrow safety margin. Cutting exactly through an edge can remove handwritten notes, punched-hole labels, page numbers, or a signature stroke. If pages were photographed from slightly different distances, consistent cropping also helps the finished PDF feel more stable.
The scanner crop is applied to the exported page image. For an existing PDF whose page boundary is too large, use Crop PDF instead. Neither operation should be used as secure redaction.
Choose filters based on the source
Original preserves the captured colors and is safest for photographs, colored marks, stamps, highlighted text, or documents where color carries meaning. Grayscale can reduce color distractions while keeping a broader range of tones. Black and white can make clean dark text on light paper look crisp, but it may erase faint writing, shaded boxes, or subtle seals.
Build the pages in the intended order
Add pages in sequence when possible, then use the page cards to rotate and reorder them. Look for missing pages, duplicated captures, upside-down sheets, backs of duplex pages, and attachments that belong after a specific form.
- Compare the captured page count with the paper stack.
- Check page numbers and section headings.
- Rotate every sideways or upside-down page.
- Remove accidental duplicates or test captures.
- Choose page size, orientation, margins, and image quality for the destination.
- Create the PDF and open the downloaded result.
Choose output settings for readability
A standard page size works well when captures should print consistently. Fitting the PDF page to each image preserves the capture's proportions but may produce mixed page dimensions. Margins can keep content away from printer edges, while compact image quality can reduce file size at the cost of some detail.
If a destination has a strict size limit, test the standard output first and use compact quality only when needed. Zoom in on the smallest important content after export rather than judging quality from the thumbnail cards.
Know what this scanner does not do
The scanner does not perform optical character recognition during capture, so photographed text does not immediately become searchable or selectable. After creating a clear scan, use OCR PDF to add a searchable text layer. The scanner also does not automatically correct perspective. A visibly trapezoidal capture remains a trapezoid unless it is recaptured more squarely.
For records that require certified capture, color accuracy, or archival standards, use a workflow designed for those requirements. A phone-based scan is convenient, but convenience is not the same as evidentiary or archival compliance.
Perform a final page-by-page check
Open the result and verify page count, order, orientation, edge completeness, focus, contrast, and legibility. Check names, dates, totals, signatures, stamps, and any handwritten additions. If one page is weak, recapture that page and rebuild the PDF from the clean source images.
Keep the result under a clear name, send the correct version, and handle sensitive documents according to the recipient's approved process. For image files that are already prepared and only need arranging, the Images to PDF tool provides the same page-building workflow without the scanner-specific capture controls.

How to Combine JPG, PNG, and BMP Images into One PDF
A clean image-based PDF starts with page order, orientation, margins, and a final check that every image remains readable.

How to Crop PDF Pages and Remove Unwanted Margins
Cropping can make uneven scans and oversized margins easier to read, but the best result depends on consistent framing and a careful page-by-page review.
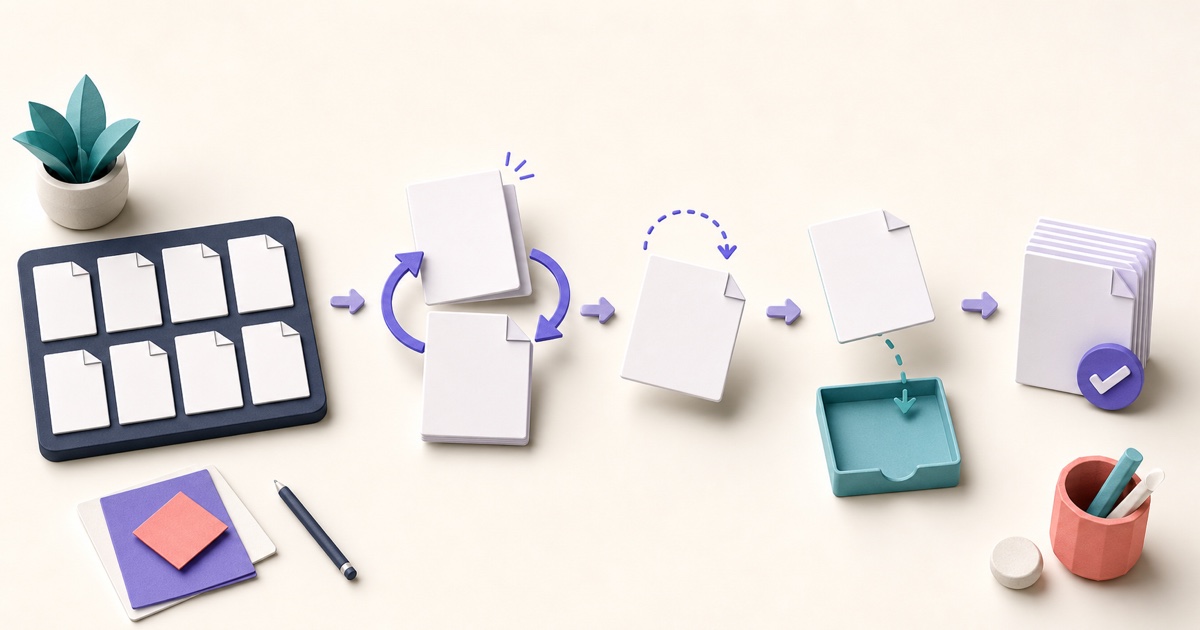
How to Reorder, Rotate, Remove, and Extract PDF Pages
Page-level cleanup is easier when you review the whole document first and make changes in a deliberate order.